The Vorwerk VR-200 automatic vacuum cleaner is an excellent addition to one’s household electronics array. I’ve been using these automatic cleaners since the VR-100 series over 5 years ago and have not regretted it a single time. They do not only take away a lot of work from you, but also provide the benefit of vacuuming on a daily basis, reducing dust by a factor of 10 or even more.
In my specific case, I had purchased a used Vorwerk VR-200 in late summer of 2016 when I moved into my new, temporary basement apartment. It is comparable to the Neato Botvac Connected, but manufactured by Vorwerk in partnership with Neato Robotics, and features a side brush as well as a spiral-blade rotating brush, laser and ultrasonic sensors and a Lithium-Ion battery pack. With this post I’d like to provide all the information one could ask for when it comes to the battery pack.
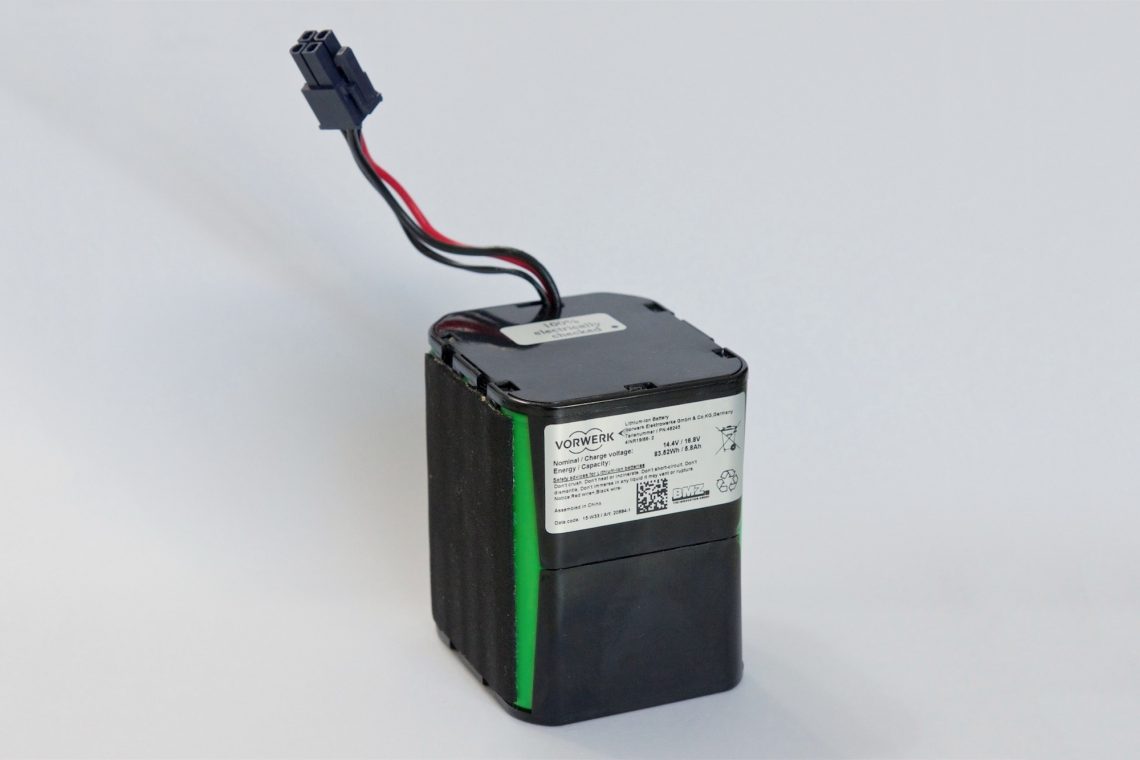
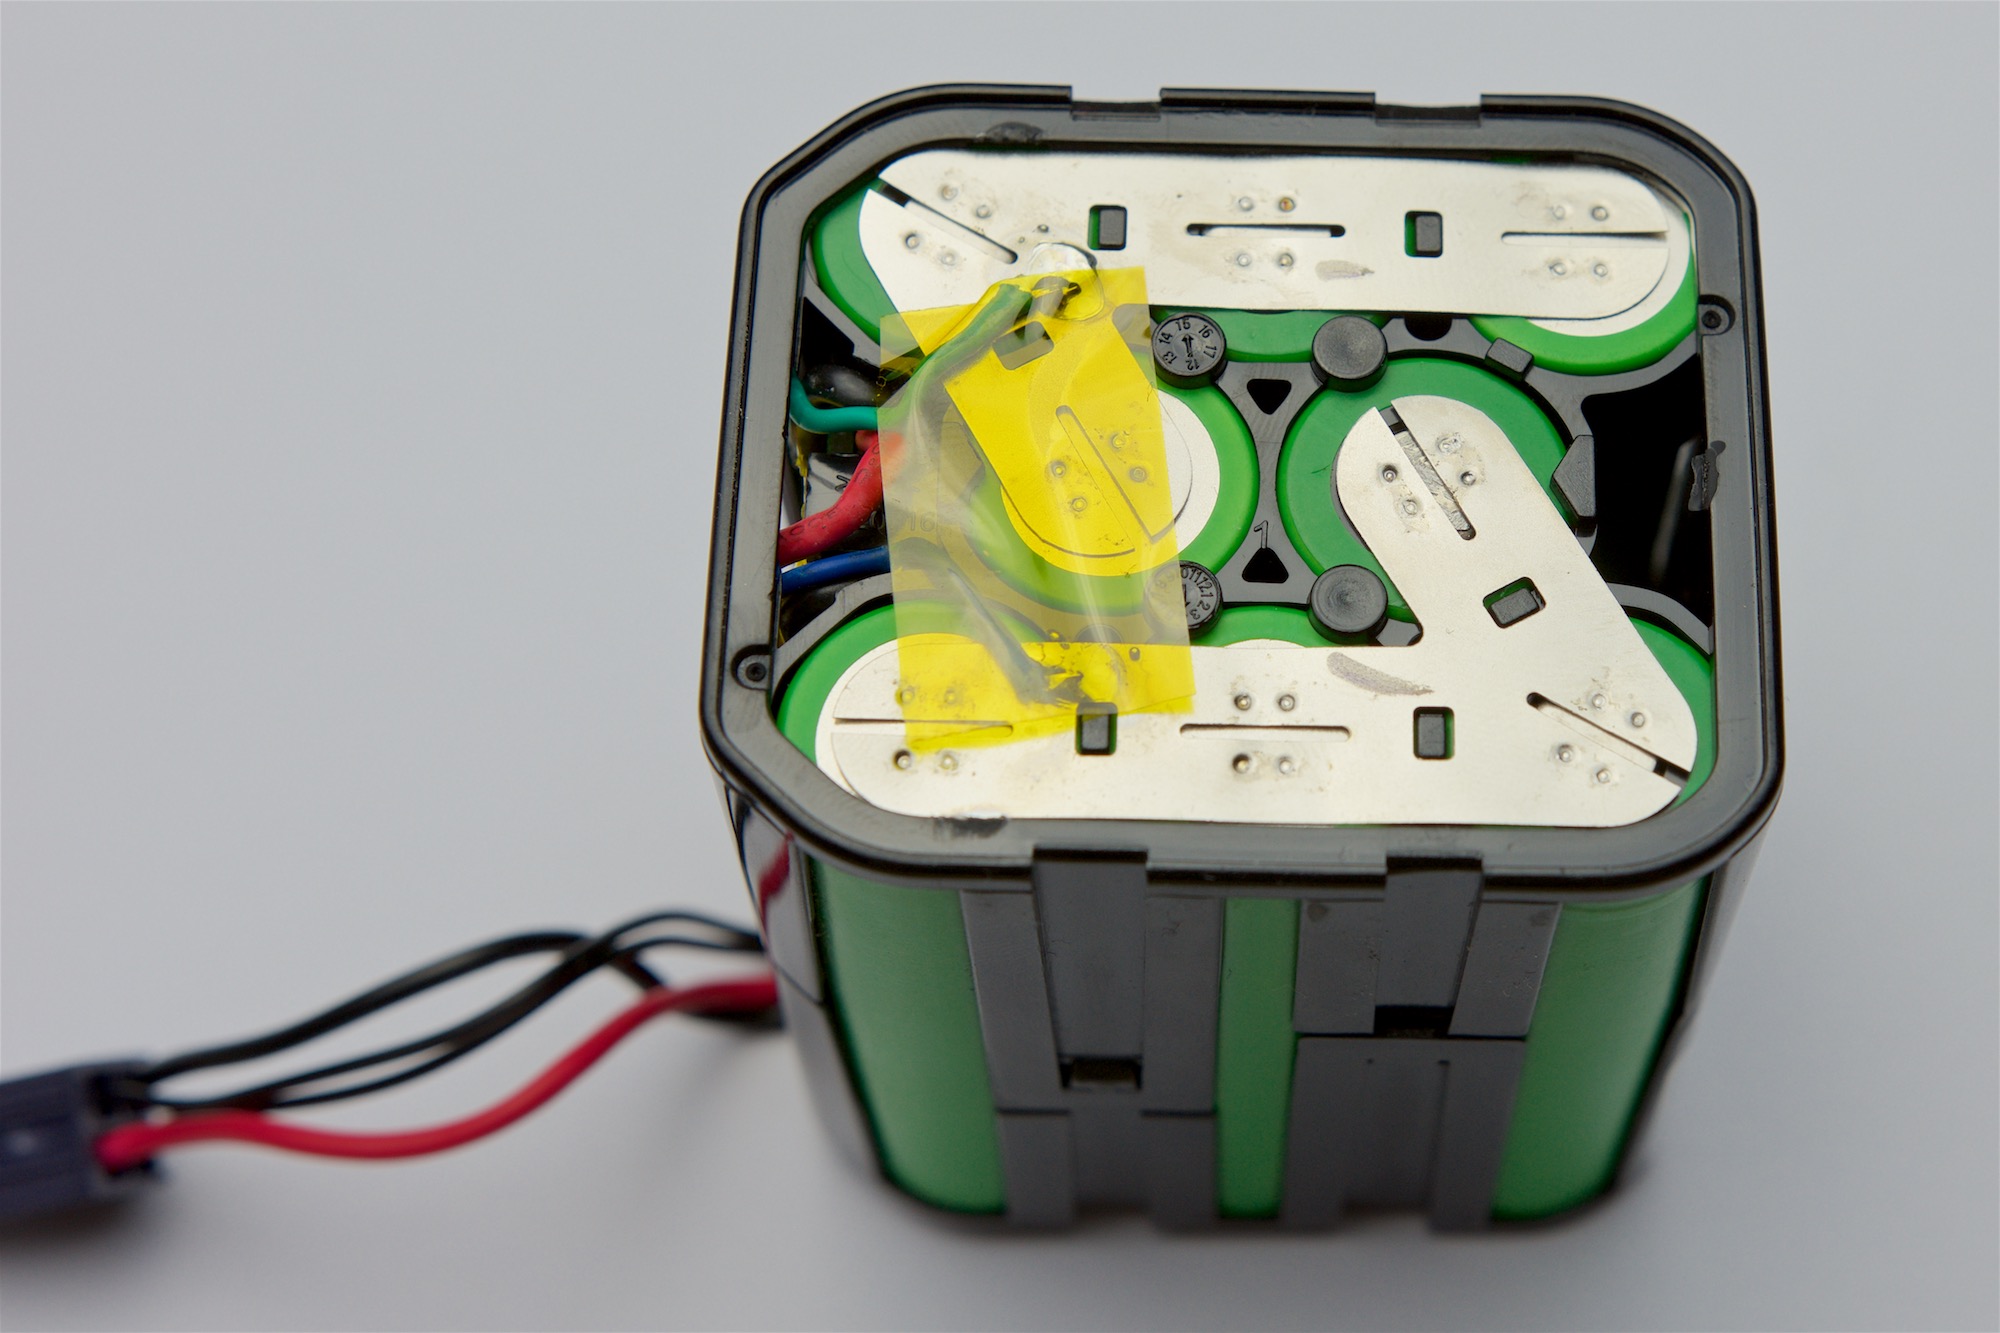
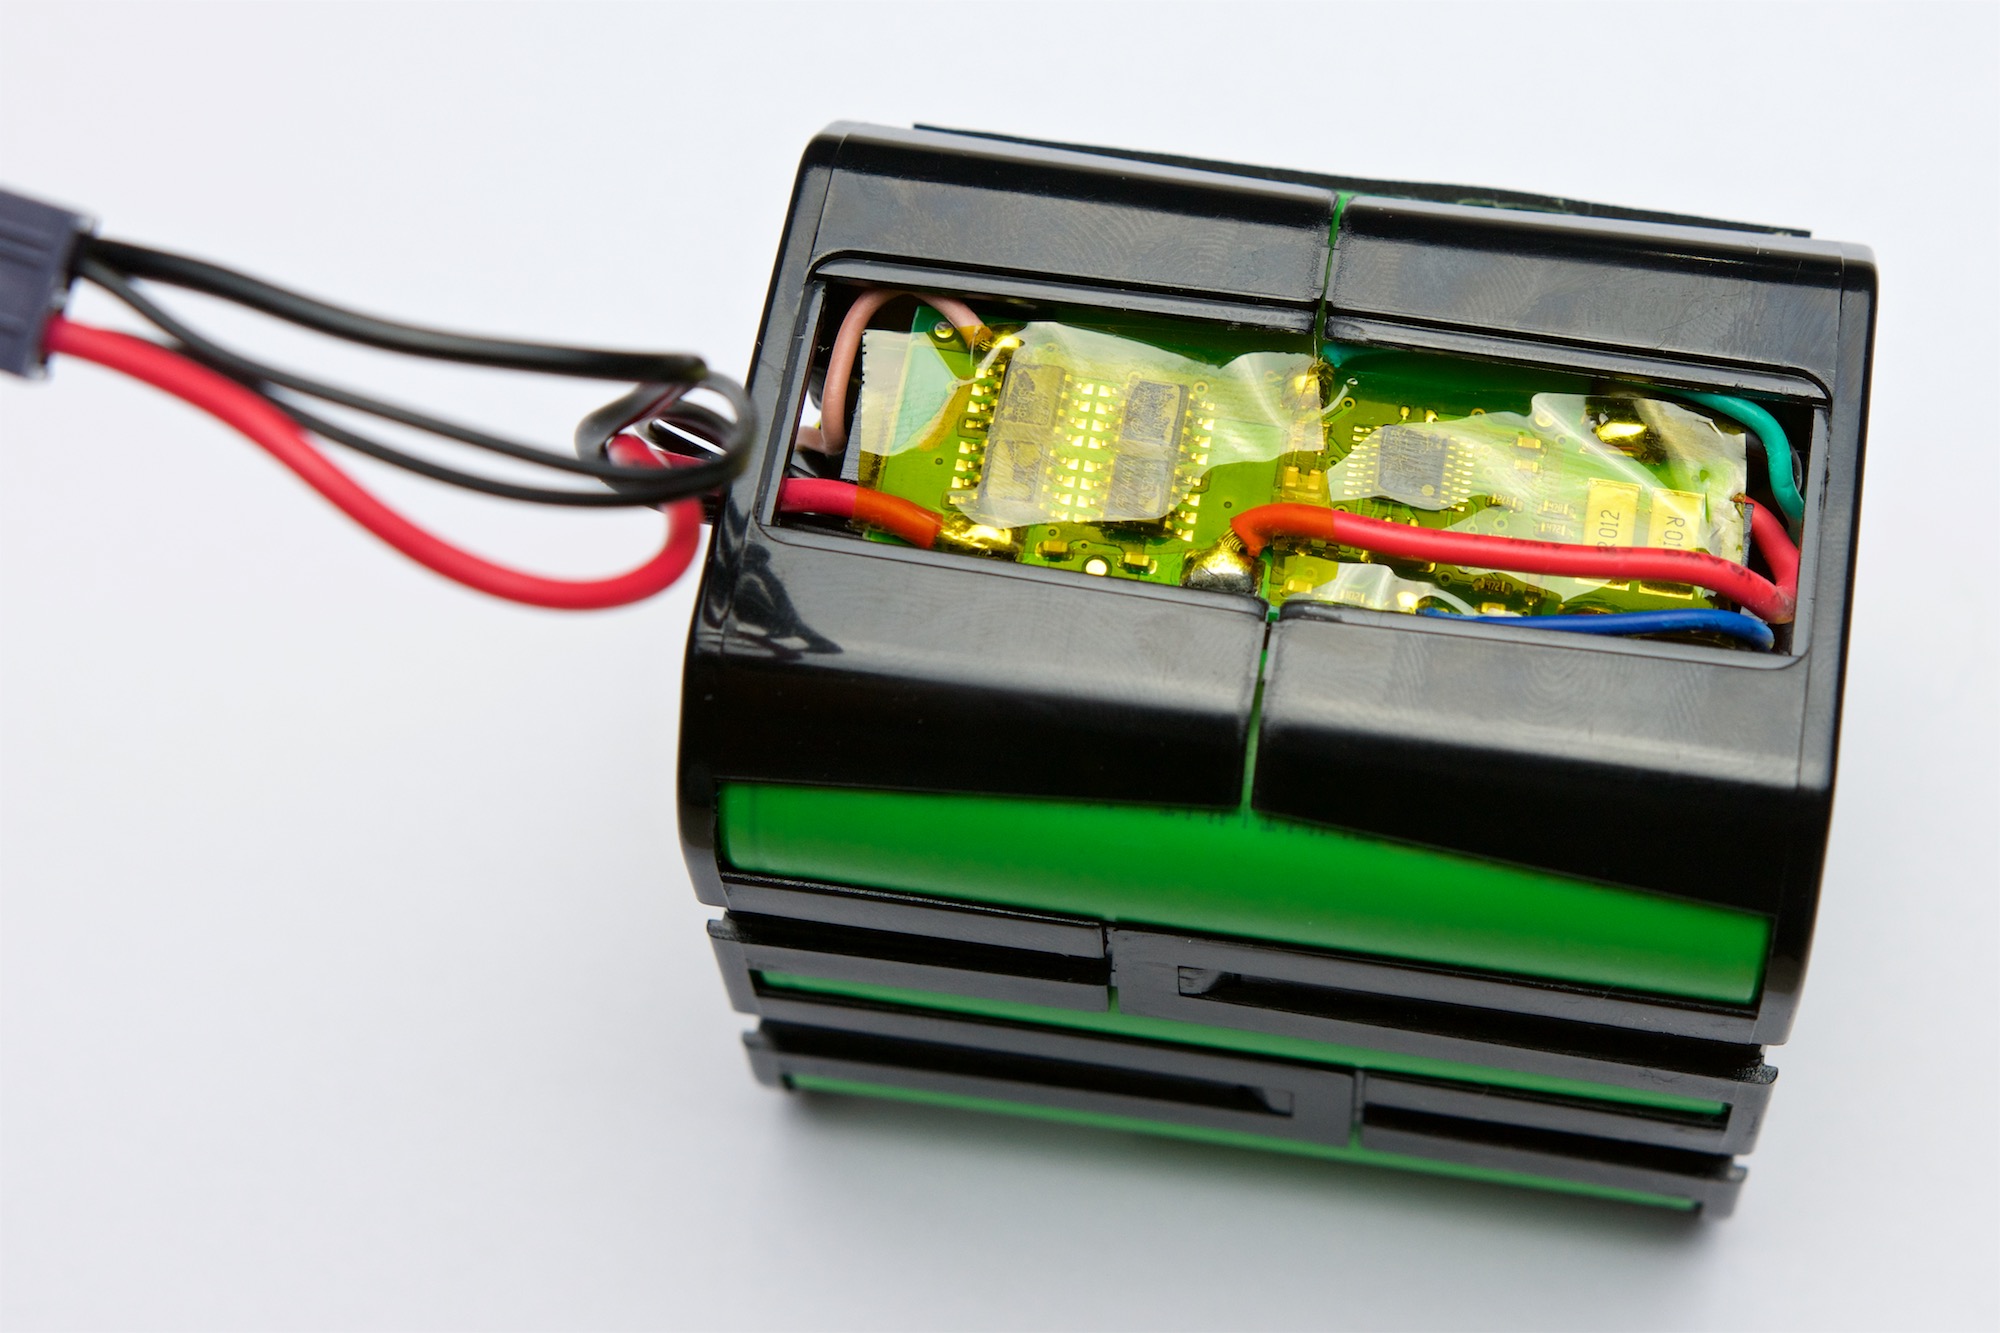
The stock battery pack is a 4s2p 18650 Li-Ion pack with US18650NC1 Sony cells rated at a total of 5800mAh, 83.52Wh, 14.4V nominal voltage and a charging cut-off voltage at 16.8V. Each cell however is rated at a continuous maximum discharge current of 8A with a nominal capacity of 2900mAh. The battery pack has a 4-pin MOLEX 5557-04R-BL connector, with positive and negative lead, as well as two extra pins attached to an NTC temperature sensor, which was reading 8.99kOhm when I checked at room temperature. The pack is protected by a battery monitoring IC from ABLIC, the S-8254AA that is switching a total of four AO4447A MOSFETs. There is no SMBus or cell balancing involved. Nonetheless, the pack still seemed to be perfectly in balance when I charged it externally. The outer dimensions of the battery pack are no larger than 63.1mm x 53.8mm (+0.9mm foam) and 70.0mm tall.

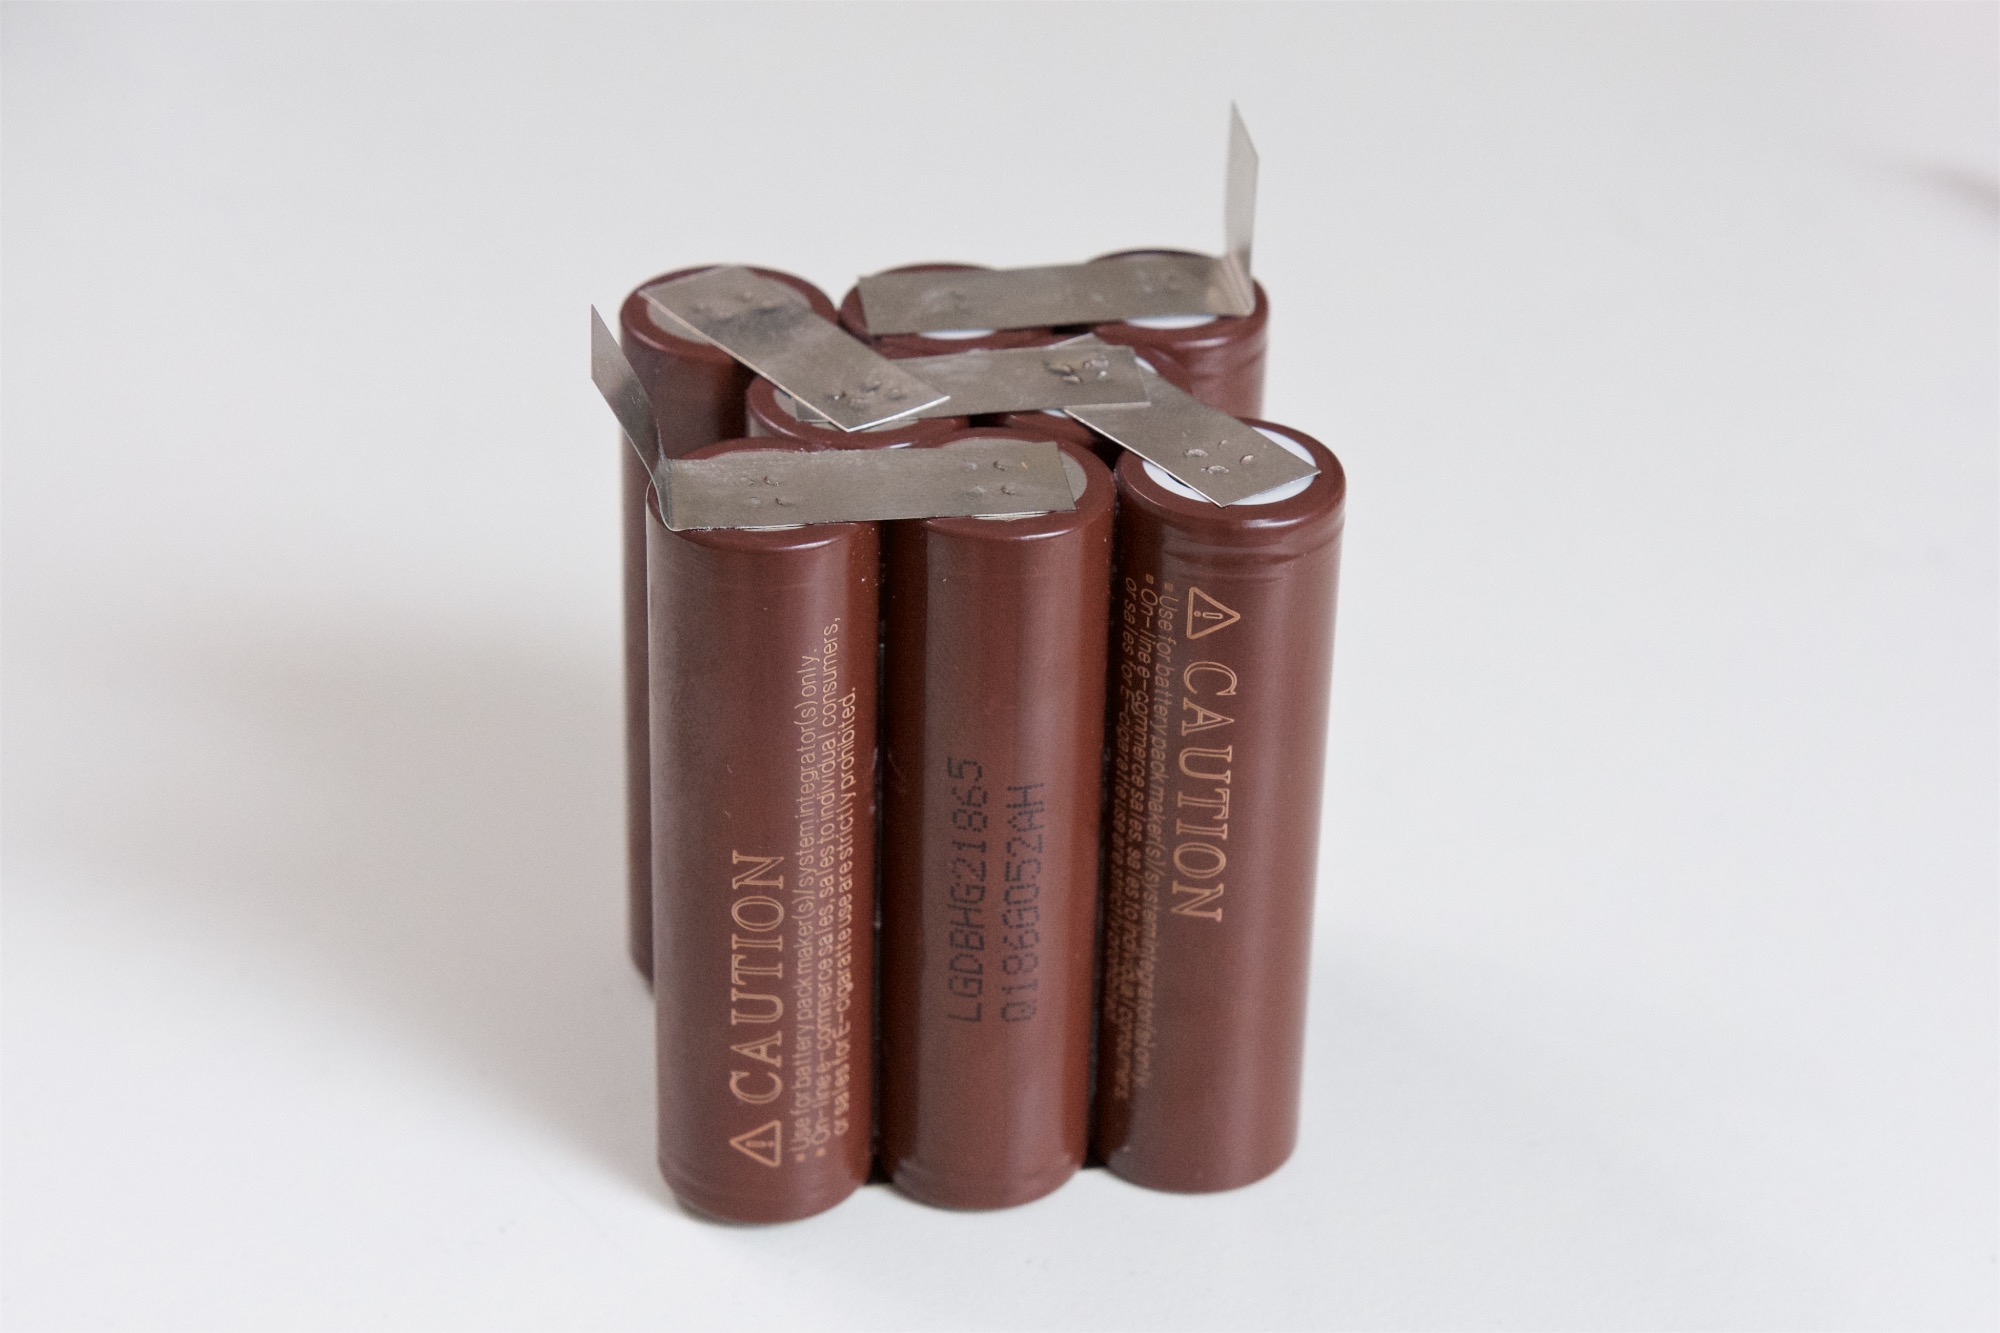
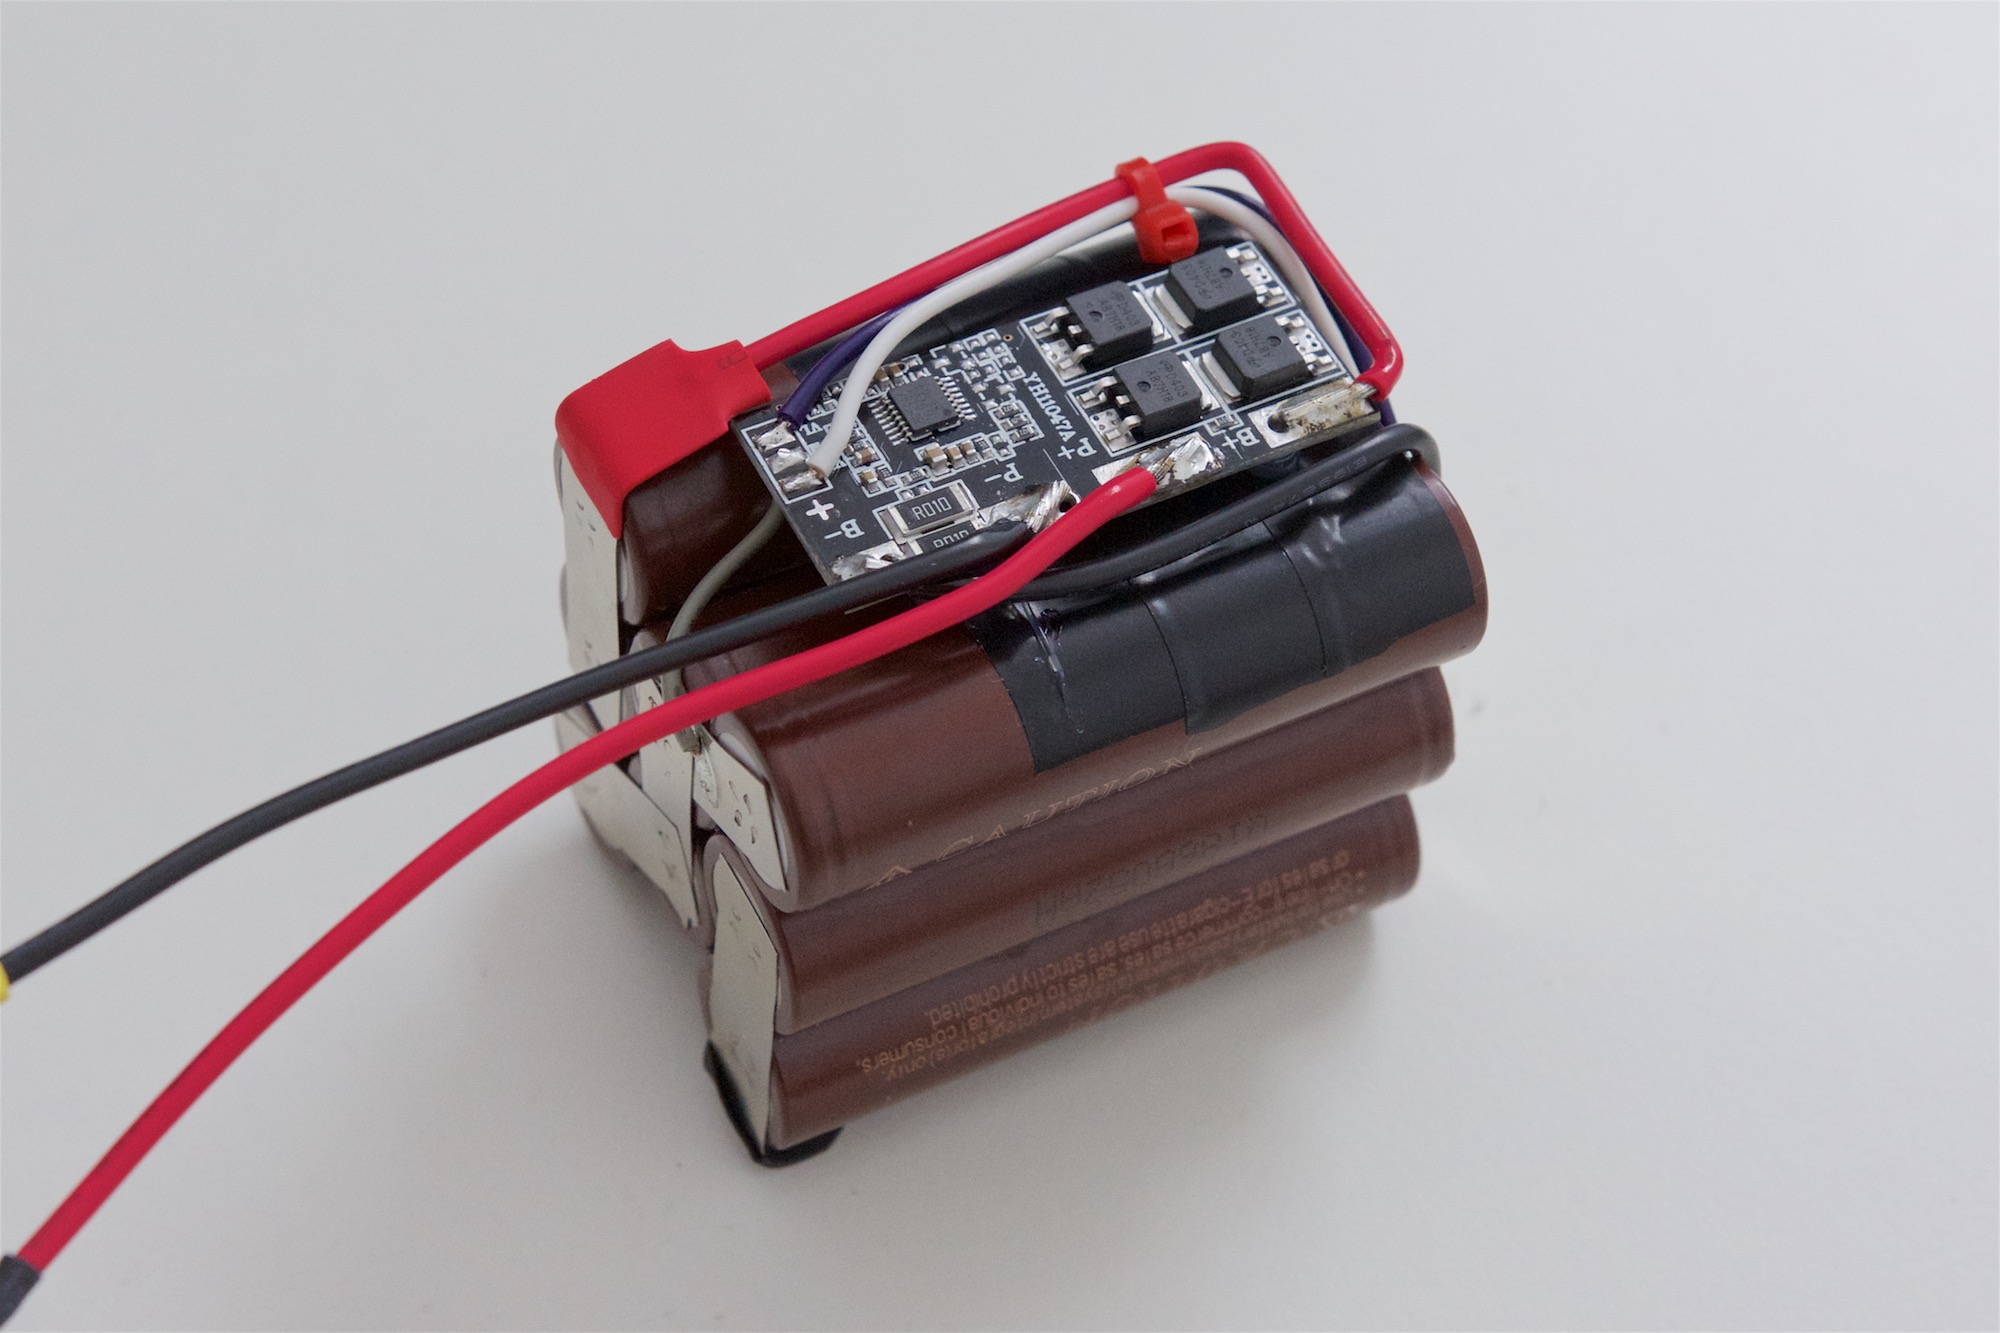
For my custom built battery pack I decided to go with the LG INR18650HG2 Lithium-Ion cells, which are 3000mAh cells with a high continuous maximum discharge current rating of 10A (20A). Configured as a 4S2P pack, this will give me 6000mAh over the 5800mAh from the OEM battery pack. For the Lithium-Ion Battery Protection Circuit Modules (PCM) I ordered one of those YH11047A 3S/4S that can be found on eBay / AliExpress. My unit was a black one which was configured for 4S. It features the same IC for battery protection as the OEM pack, the ABLIC S-8254AA, and therefore features over- and under-voltage protecting, over-current during charge and discharge, as well as individual cell voltage monitoring. For the NTC pins of the connector I decided to use a fixed 9.1kOhm resistor instead of using an actual NTC, and for the battery connector, I ordered a copy of the original Molex one, as it wasn’t easily available. I used the Multicomp MC34507 4-pin connector with its dedicated crimps, that I manually crimp-soldered together with AWG16 wires for the battery leads, and some smaller wires for the resistor.
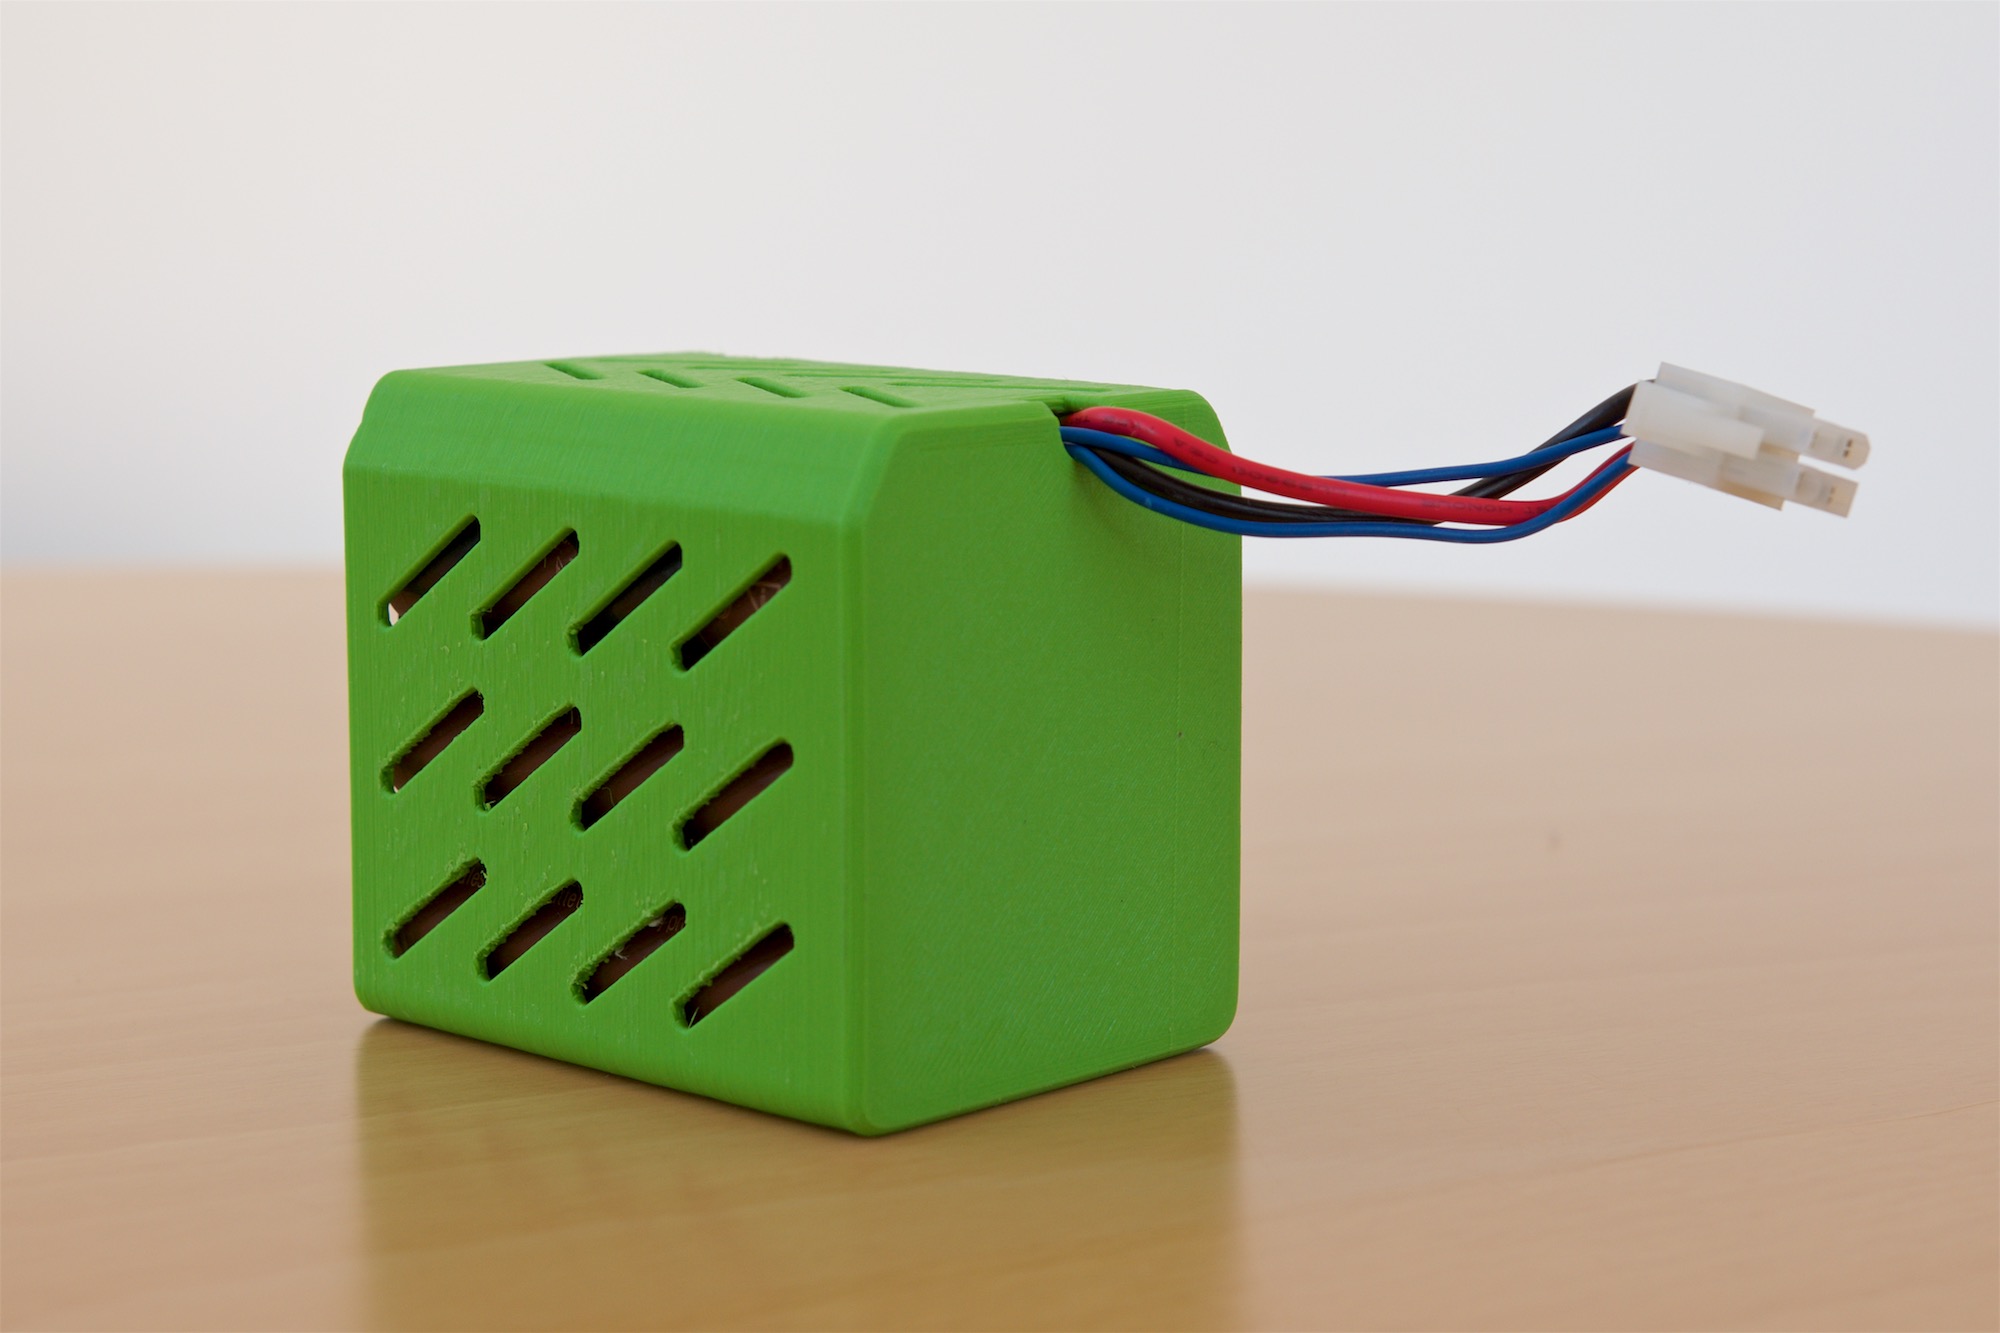
In order to fit the battery inside the vacuum cleaner, I wanted to design a case that I can 3D print and that would still fit. A little tricky, considering a 3D printed case would need thicker walls. The maximum height that would fit inside the battery bay is 72mm x 65mm, so I aimed for a little lower than that to give it some wiggle room and to compensate for tolerances. I turned out quite nice. The battery compartment has a few notches on the inside that need to be taken into account, which makes the battery case deviate from a nice rectangular shape. You can download an .stl-file from Thingiverse, but you may need to adjust the fit to your unit by grinding off a few corners. Overall, it should fit.

One of the reasons I wanted to swap the battery was the inability of the vacuum cleaner to return to its station after its morning routine. This first started happening with the software update to 2.x, but it’s not consistent. Sometimes you could even start the cleaning away from its home station and it would return. I’m still investigating what is causing this, but one thing that was related to the battery was the inability to perform a long search for its home station. It would then stop with an error code 2009 and say the way is blocked, but it wasn’t. This is now certainly fixed with the new battery and the cleaning time seems to be improved, though only by a small margin. I’m always using the eco mode, which results in about 90-100 minutes.
If you enjoy this type of content, I’d love to enjoy a cup of coffee while typing the next one!
